


I’ll say right out that I have only been making sourdough for just over a month. If you want to know how to bake perfect looking artisan style loaves of the kind you might see for sale for £3.50 or more at a Farmers’ Market then you are in the wrong place. However, if you want to know about a simple way to make decent, totally plastic free, bread to feed your family, at a fraction of the price, I may be able to help. All you need is flour, water and salt. Plus a little bit of planning ahead.
First off, you’ll need a sourdough starter. You can buy one, or get one from a friend or via a fermenting group online. However, it is easy to make one yourself from scratch. I followed this method from Allinsons
What it doesn’t mention is that if you add 70g of flour and 70ml of water every day, unless you are using a really big jar, you’ll soon run out of space. And if your starter begins to be quite active in that time, it will overflow. You can use a much smaller amount of flour and water – the key thing is to use a 1:1 ratio. It is also a good idea while your starter is getting going to ” refresh” it by discarding some. Of course I don’t mean throw it away. Instead transfer about 80% of your starter to a separate jar and pop that in the fridge while you continue to feed the remaining 20%. Some sites say to do this every day but I didn’t discard until I began running out of space and mine still worked fine. You can use the “discard” to bake pancakes, crumpets, crackers, pizza and lots more – about which more below.

After a few days of adding flour and water to your jar you should begin to see some activity – it will start to bubble and smell yeasty. Don’t worry if it takes longer – it depends how warm your kitchen is. I put mine in the warm airing cupboard to speed things up. This is how it looked after 5 and 7 days:


After a couple or weeks you should be able to try making a loaf. There are a couple of ways to tell if your starter is ready. After you feed it with flour and water it should double in size in a few hours and then fall back – you can put a rubber band around the jar to mark the levels to help you tell. Another way is to drop a bit of the starter into a cup of water and it should float. Being a newbie I didn’t know about either of these so I just got baking, but when I tried the float test later it worked.
Once your starter is established you can keep it in the fridge and just take it out to feed a day or two before baking, or once a week unless you are using it often – in which case keep it out on the counter and keep feeding at least daily. You can also just replace the amount you use to keep it refreshed rather than needing to discard any.
I didn’t realise when I made my first loaf that the dough really needs to be contained while rising or it will just spread out. This started off nicely shaped into a baguette but soon spread out to fit the baking tray. Oops. However once baked in still tasted good – and looking back I can see it had some quite good bubbles.


I’m not sure now which recipe I used for that first loaf but I picked up a copy of Hugh Fearney Whittingstall’s River Cottage Everyday in the British Heart Foundation shop in Leighton Buzzard while visiting family at half term. It has a section on bread making, including sourdough, and I’ve been using the straighforward recipe in there ever since with some minor tweaks. I also joined a Facebook Group on Sourdough Bread Making – this has lots of complicated sounding stages to making sourdough which I’m leaving until later on but have incorprated a couple of things into the way I make my loaf. I say complicated sounding because they probably aren’t really – and the folk there are very helpful.
Basic Sourdough loaf:
Step 1: Making the levain/ pre-ferment/sponge:
This step goes by several names but is essentially creating a larger amount of starter to use in your loaf. Put 85g of your starter into a large bowl and add 250g of strong white flour and 275 ml of warm water. Note that if weighing 1ml of water weighs 1g which makes life simple ( other liquids are not the same). Mix, cover with a damp teatowel, and leave overnight or all day depending on when you want to make the dough. On a weekday I like to make this before I leave for work and then make the dough when I get home but at the weekend I tend to make this in the evening and leave overnight ready to make the dough in the morning.
Step 2: After step 1 you should have a bowl of bubbly thick liquid.
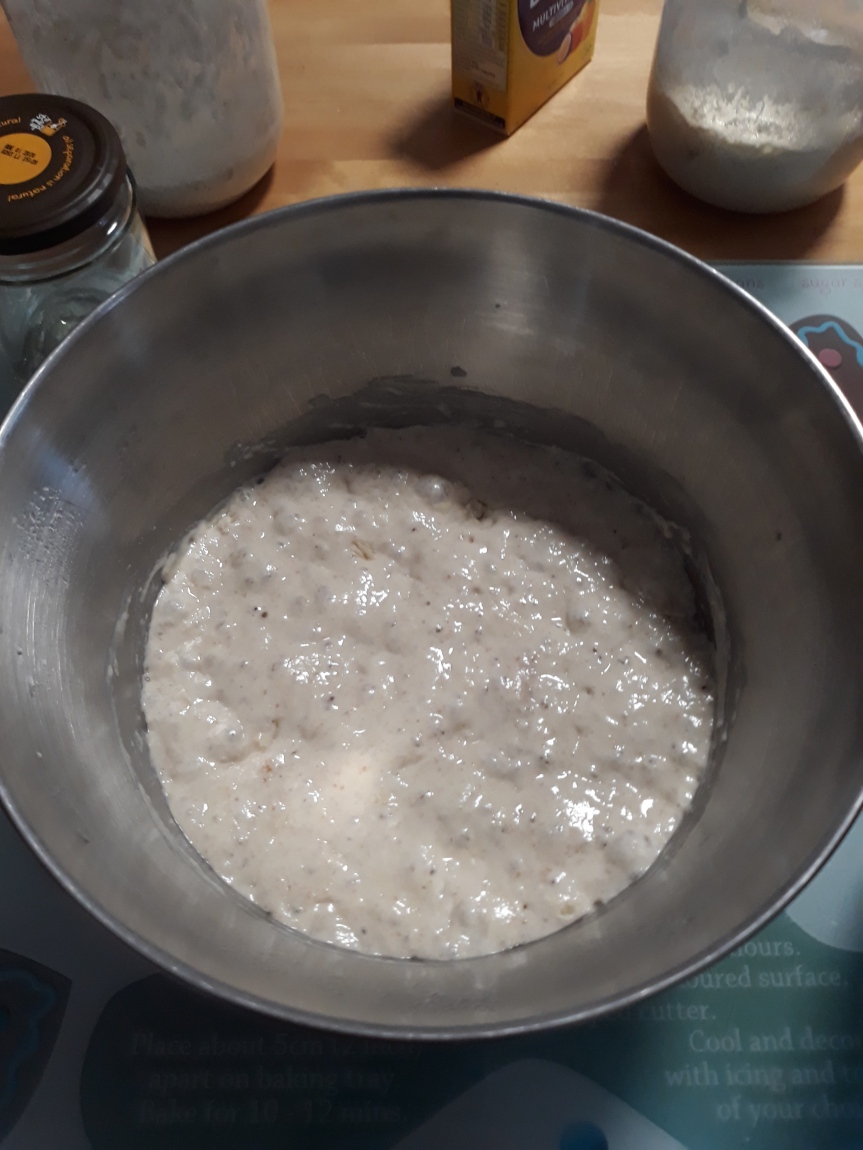
Add 300g of bread flour to the levain and mix. Add 10g of salt. You can add 1tbsp of oil if you want but this is entirely optional.
At this stage some recipes tell you to stretch and fold the dough 4 or 5 times at hourly intervals but this doesn’t work timewise for me so I’m sticking with Hugh’s approach which it to just knead it once at this stage. He does however describe kneading it in a stretch and fold kind of way. The important thing is to knead until you achieve the “window pane” effect. Essentially if you lift the dough and stretch until you can almost see through it, it should still hold together rather than tearing. The suggested approach here is to turn the dough out onto a lightly floured or oiled surface and push it away with the palm of your hand, then fold it back on itself, turn by 45 degrees and then repeat until it comes together in a smooth dough. Entirely up to you whether you do this all in one go or in several bursts but it really isn’t as complicated, or necessary to do it a specific way, as it sounds. I’ve found an alternative which works very well is to use a dough programme on my bread machine. I use a 2.10 hour dough programme.
Edited to add that when mixing in the breadmaker I now add an extra 50 -75g of water ( higher end if using wholemeal flour or adding seeds that will absorb more liquid)

Step 3: First proof
Once your dough is made, leave it to rise, still covered with a damp teatowel, in a warm place until roughly doubled in size. How long this takes depends on how warm your kitchen is – the original recipe I followed suggested overnight but Ive found 2-4 hours works better for me now we are into summer.
Step 4: Shape and second proof
Now you can ” knock back” your dough and shape it into a loaf. I’m not yet very good at shaping but as I have learnt the dough spreads out I at this stage put it straight into the vessel I intend to cook it in. But you can use a bowl or a special bread proofing basket called a banneton. I just use a casserole dish, spraying a little oil inside to make sure it doesn’t stick although you can instead sprinkle a little polenta or rice flour. As you practice you should be able to shape it in such a way that it will retain its shape – I’m not there yet but there are videos on You Tube. At this stage you can leave it at room temperature for 1.5 to 3 hours until it has doubled again. Any longer than this and it is likely to overproof. At this stage it should be ready to bake. If this timing doesn’t fit with when you want to bake you can instead do the second proof in the fridge, where you can leave it several days or more if you wish. I find this approach easier timewise. This is also supposed to improve the flavour.

Step 4: Bake your loaf
Before you bake your loaf carefully score it with a sharp knife or razor blade. This tradition apparently dates back to when there was one shared bread oven per village and people marked their loaves to know which was theirs. I definitely haven’t perfected this technique yet. After my first flat loaf, I have been baking my bread straight in the casserole dish. If using a cast iron casserole you can put it straight into a hot oven, but if using Pyrex, or as I am doing, a non stick casserole with a glass lid, you might want to put it into a cold oven instead if you are baking straight from the fridge, to avoid risk of the glass cracking. I put my casserole straight from the fridge into a cold oven turned up to the highest temp (230 degrees on my oven). I baked it for 20 mins at this temp then turned down the heat to 200 degrees. I removed the lid after another 10 mins and then baked for a further 15 making 45 in total but do keep an eye on it as ovens vary. When it is cooked through it should sound hollow when tapped. If you start with a hot oven it might take a little less time. Then leave to cool fully before slicing.

You can also use your bread machine to cook the whole loaf – I’m still experimenting with a couple of different methods so will report back on that in another post.
Ways to use your ” discard” or excess starter:
Actually the main reason I started sourdough was to make crumpets rather than bread, and rather than finding I have excess to use up, I’m finding I need to make extra starter for these recipes. These need less rise than bread so can use a starter that hasn’t been recently fed.
Pancakes:

Recipe from The Zero Waste Chef: pancake recipe
We found you can use 1 cup of starter to 1 egg if you prefer less eggy pancakes. These have become an expected weekend breakfast now so I have to make sure I have enough starter. The Zero Waste Chef has lots of other recipes I’m yet to try including sourdough crackers.
Crumpets:
I’m still waiting on some crumpet rings aquired from an online sell/swap/gift group (circular economy in action) so no photo of these yet although the splodge like attempt without any rings was given a thumbs up by son in taste terms. Crumpet recipe
Pizza:
There are loads of recipes out there but I liked this one for its simplicity, although I ignored the bit about kneading it after letting it to rise which sounded wrong to me:
Edited to add – I have now gone back to using my breadmachine to make pizza dough. I follow the recipe in the manual but omit the yeast, add 100g of starter, and then use 50g of flour and 50g of water less than the recipes requires. Son said it made the best pizza base ever!

Even if you still think sourdough is complicated please give it a try – I was put off trying it for ages but it is a bit more of an art than a science and there is no one right way to do it. Choose the way that works for you and fits around your lifetyle. Whichever way it make tasty bread that uses fewer ingredients and with no need to buy plastic lidded tubs of yeast. It’s good for you too. And I reckon a loaf costs me about 50p to make compared to £3.50 to buy one from the Farmers’ Market.
If you like what you have read please leave me a comment below. You can also find me posting more regularly on Twitter, Facebook and Instagram.

